Создать динамический компонент теперь проще: изменения в Angular 13
Бывают ситуации, когда компонент необходимо добавить на страницу динамически. Например, тултип или баннер. В такие моменты на помощь приходит Angular, который умеет создавать компоненты в рантайме и рендерить их. Для этого разработчик может воспользоваться методом createComponent у ViewContainerRef.
Но с 13 версией фреймворка API этого метода немного изменился. В этой статье поделюсь тем, как теперь выглядит процесс динамического добавления компонента.
Прежде чем разобраться в этом, хочу поздравить с окончательным переездом фреймворка на Ivy, новый движок рендеринга Angular. Наконец-то мы окончательно попрощались с View Engine, и теперь Ivy покажет себя в полной мере!
Возвращаясь к динамическим компонентам: предположим, нам нужно динамически отрисовать DynamicComponent, который для простоты выглядит следующим образом:
dynamic.component.ts
import {Component} from '@angular/core';

@Component({
  selector: 'app-dynamic',
  template: `

    `,
  styles: [`
    :host {
      text-align: center;
    }`
  ]
})
export class DynamicComponent {
}
Этот компонент будем отображать в AppComponent при клике на »show-btn» и удалять по кнопке »remove-btn» и добавим для них обработчики: showDynamicComponent и removeDynamicComponent соответственно.
app.component.html
Обратите внимание на DynamicComponent. Именно здесь будет отображаться наш динамический компонент.
Дальше и начинается самое главное — как работать с таким компонентом:
Как было до Angular 13
1) С шаблоном мы закончили, теперь займемся функционалом добавления и удаления компонента. Сперва напишем обработчик showDynamicComponent.
app.component.ts
import {
  Component,
  ComponentFactoryResolver,
  ComponentRef,
  OnDestroy,
  ViewChild,
  ViewContainerRef,
} from '@angular/core';
import { DynamicComponent } from './dynamic.component';

@Component({
  selector: 'my-app',
  templateUrl: './app.component.html',
  styleUrls: ['./app.component.css'],
})
export class AppComponent implements OnDestroy {
  @ViewChild('dynamic', { read: ViewContainerRef })
  private viewRef: ViewContainerRef;

  private componentRef: ComponentRef;

  constructor(
    private readonly componentFactoryResolver: ComponentFactoryResolver
  ) {}

  showDynamicComponent(): void {
    this.viewRef.clear(); // destroys all views in container
    const componentFactory =
      this.componentFactoryResolver.resolveComponentFactory(DynamicComponent);
    this.componentRef = this.viewRef.createComponent(componentFactory);
  }
}
Что за componentFactory на 28 строке? Это фабрика нашего динамического компонента, полученная с помощью ComponentFactoryResolver.
А ComponentFactoryResolver в свою очередь является хранилищем, которое по ключу DynamicComponent найдет и вернет фабрику, содержащую все необходимое для создания экземпляра DynamicComponent.
На 30 строке создаем ссылку на наш динамический компонент — this.componentRef. Получаем ее с помощью передачи фабрики DynamicComponent в метод createComponent у this.viewRef (ссылка на контейнер динамического компонента).
Сигнатура этого метода:
abstract createComponent(
	componentFactory: ComponentFactory,
	index?: number,
	injector?: Injector,
	projectableNodes?: any[][],
	ngModuleRef?: NgModuleRef
): ComponentRef
Помимо фабрики компонента, мы также можем передать опциональные параметры, подробней в документации.
2) После того, как мы закончили с добавлением компонента, можно приступить к его удалению: добавляем обработчик removeDynamicComponentдля кнопки »remove-btn».
app.component.ts:
import {
  Component,
  ComponentFactoryResolver,
  ComponentRef,
  ViewChild,
  ViewContainerRef,
} from '@angular/core';
import { DynamicComponent } from './dynamic.component';

@Component({
  selector: 'my-app',
  templateUrl: './app.component.html',
  styleUrls: ['./app.component.css'],
})
export class AppComponent {
  @ViewChild('dynamic', { read: ViewContainerRef })
  private viewRef: ViewContainerRef;

  private componentRef: ComponentRef;

  constructor(
    private readonly componentFactoryResolver: ComponentFactoryResolver
  ) {}

  showDynamicComponent(): void {
    this.viewRef.clear(); // destroys all views in container
    const componentFactory =
      this.componentFactoryResolver.resolveComponentFactory(DynamicComponent);
    this.componentRef = this.viewRef.createComponent(componentFactory);
  }

  removeDynamicComponent(): void {
    this.viewRef.clear(); // destroys all views in container
  }
}
Здесь мы просто очищаем наш view-контейнер от всех представлений, и DynamicComponent перестанет отображаться.
Полный код app.component.ts
import {
  Component,
  ComponentFactoryResolver,
  ComponentRef,
  ViewChild,
  ViewContainerRef,
} from '@angular/core';
import { DynamicComponent } from './dynamic.component';

@Component({
  selector: 'my-app',
  templateUrl: './app.component.html',
  styleUrls: ['./app.component.css'],
})
export class AppComponent {
  @ViewChild('dynamic', { read: ViewContainerRef })
  private viewRef: ViewContainerRef;

  private componentRef: ComponentRef;

  constructor(
    private readonly componentFactoryResolver: ComponentFactoryResolver
  ) {}

  showDynamicComponent(): void {
    this.viewRef.clear();
    const componentFactory =
      this.componentFactoryResolver.resolveComponentFactory(DynamicComponent);
    this.componentRef = this.viewRef.createComponent(componentFactory);
  }

  removeDynamicComponent(): void {
    this.viewRef.clear();
  }
}
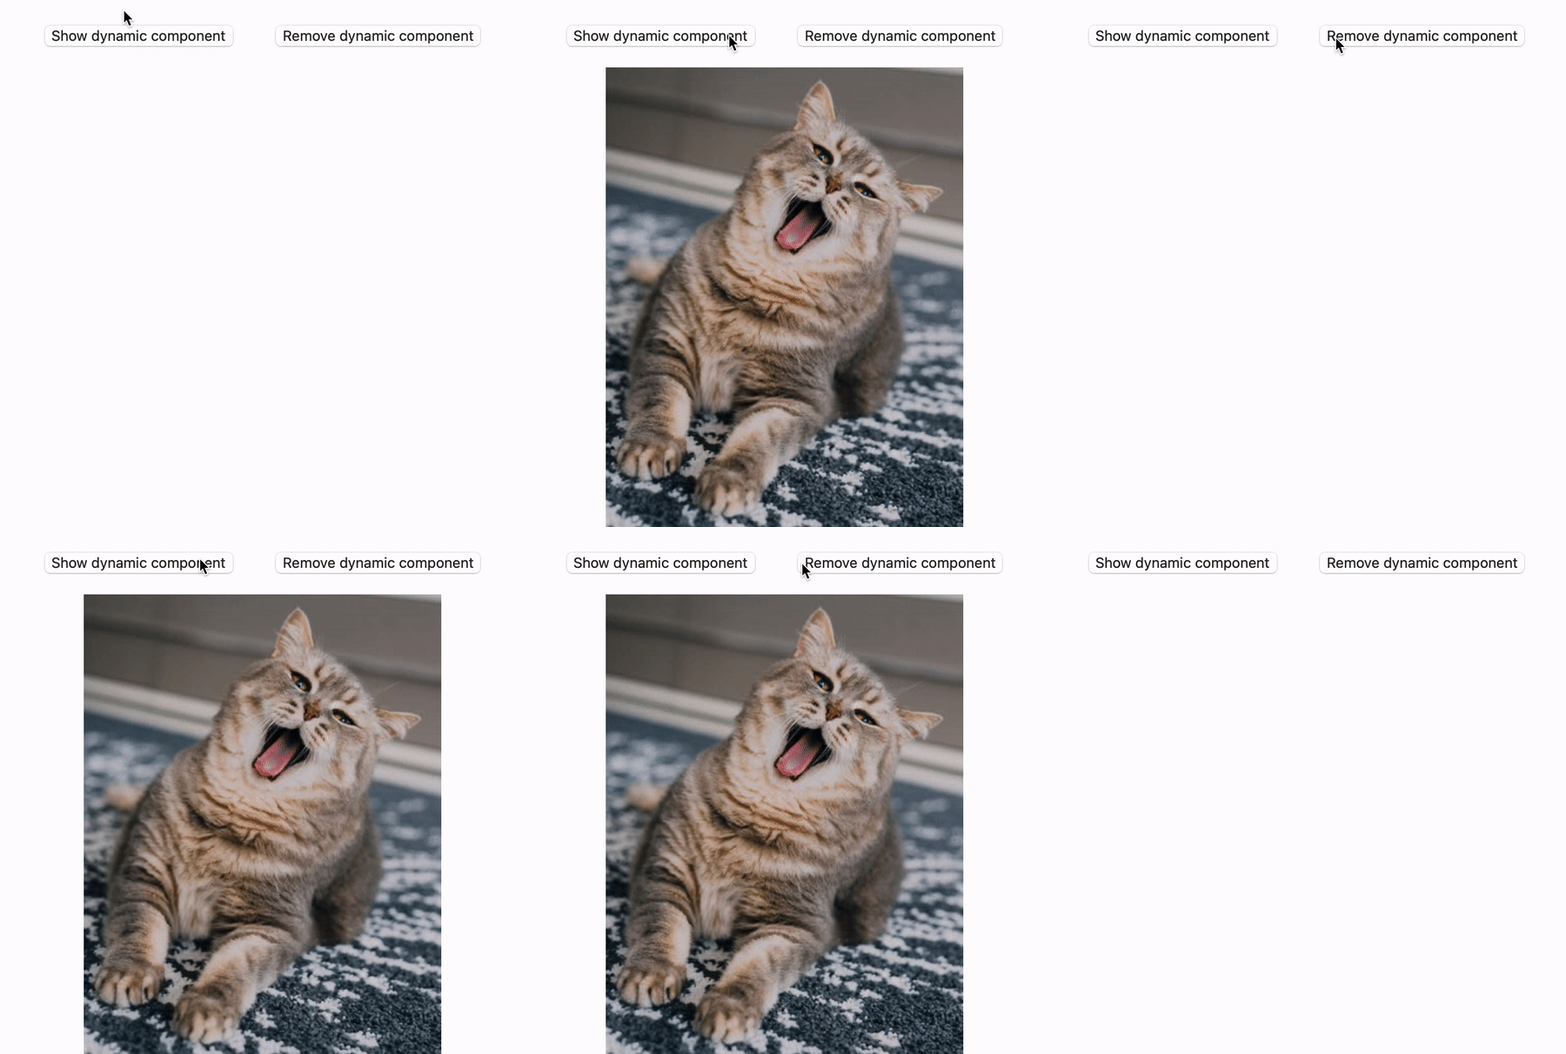
Теперь запустим наш код:

Все работает, идем дальше:)
Что изменилось в 13 версии Angular
В этой версии упростилось API для создания динамического компонента (нам больше не нужно заботиться о его фабрике), а в 13.2 версии классы ComponentFactory и ComponentFactoryResolver устарели.
Посмотрим на новую сигнатуру метода:
abstract createComponent(
  componentType: Type,
  options?: {
    index?: number;
    injector?: Injector;
    ngModuleRef?: NgModuleRef;
    projectableNodes?: Node[][]; }
): ComponentRef
Теперь нам достаточно просто передать тип компонента DynamicComponentв метод createComponent, а с фабрикой Angular сам разберется.
Добавим изменения в обработчик showDynamicComponent:
app.component.ts
import { Component, ViewChild, ViewContainerRef } from '@angular/core';
import { DynamicComponent } from './dynamic.component';

@Component({
  selector: 'my-app',
  templateUrl: './app.component.html',
  styleUrls: ['./app.component.css'],
})
export class AppComponent {
  @ViewChild('dynamic', { read: ViewContainerRef })
  private viewRef: ViewContainerRef;
  private componentRef: ComponentRef;

  showDynamicComponent(): void {
    this.viewRef.clear();
    this.componentRef = this.viewRef.createComponent(DynamicComponent); // теперь так
  }

  removeDynamicComponent(): void {
    this.viewRef.clear();
  }
}
Стоит уточнить, что хоть сигнатура метода createComponent изменилась, мы все также можем дополнительно передать index, injector, ngModuleRef и projectableNodes, но уже отдельным опциональным объектом.
А за счет того, что createComponent все так же возвращает ComponentRef, нам практически не нужно менять код при переходе на новую версию фреймворка.
Вывод
Теперь мы узнали, как создавать динамический компонент в 13 версии Angular и рассмотрели отличия от предыдущей версии фреймворка.
Создавать динамический компонент стало проще:
не нужно беспокоиться о создании фабрики
не нужно инжектировать вспомогательные зависимости
схожая сигнатура метода создания компонента не требует значительного изменения кода
Angular становится лучше и лучше:)
Было (Angular <= 12):
export class AppComponent implements {
  @ViewChild('dynamic', { read: ViewContainerRef })
  private viewRef: ViewContainerRef;

  private componentRef: ComponentRef;

  constructor(
    private readonly componentFactoryResolver: ComponentFactoryResolver
  ) {}

  showDynamicComponent(): void {
    this.viewRef.clear();
    const componentFactory =
      this.componentFactoryResolver.resolveComponentFactory(DynamicComponent);
    this.componentRef = this.viewRef.createComponent(componentFactory);
  }

  removeDynamicComponent(): void {
    this.viewRef.clear();
  }
}
Стало (Angular 13):
export class AppComponent {
  @ViewChild('dynamic', { read: ViewContainerRef })
  private viewRef: ViewContainerRef;

  showDynamicComponent(): void {
    this.viewRef.clear();
    this.viewRef.createComponent(DynamicComponent);
  }

  removeDynamicComponent(): void {
    this.viewRef.clear();
  }
}
Ссылка на старый код.
Ссылка на новый код.
Полезные ссылки
